Laser Engraving Settings Cheat Sheet: Wood, Acrylic, Leather, Slate
Summary
This laser engraving settings cheat sheet gives you community-verified starting points for wood, acrylic, leather, and slate across three machine classes — 10W diode, 20W diode, and 40W CO2. Most beginners skip the one calibration step that determines whether these numbers actually work for their specific machine.
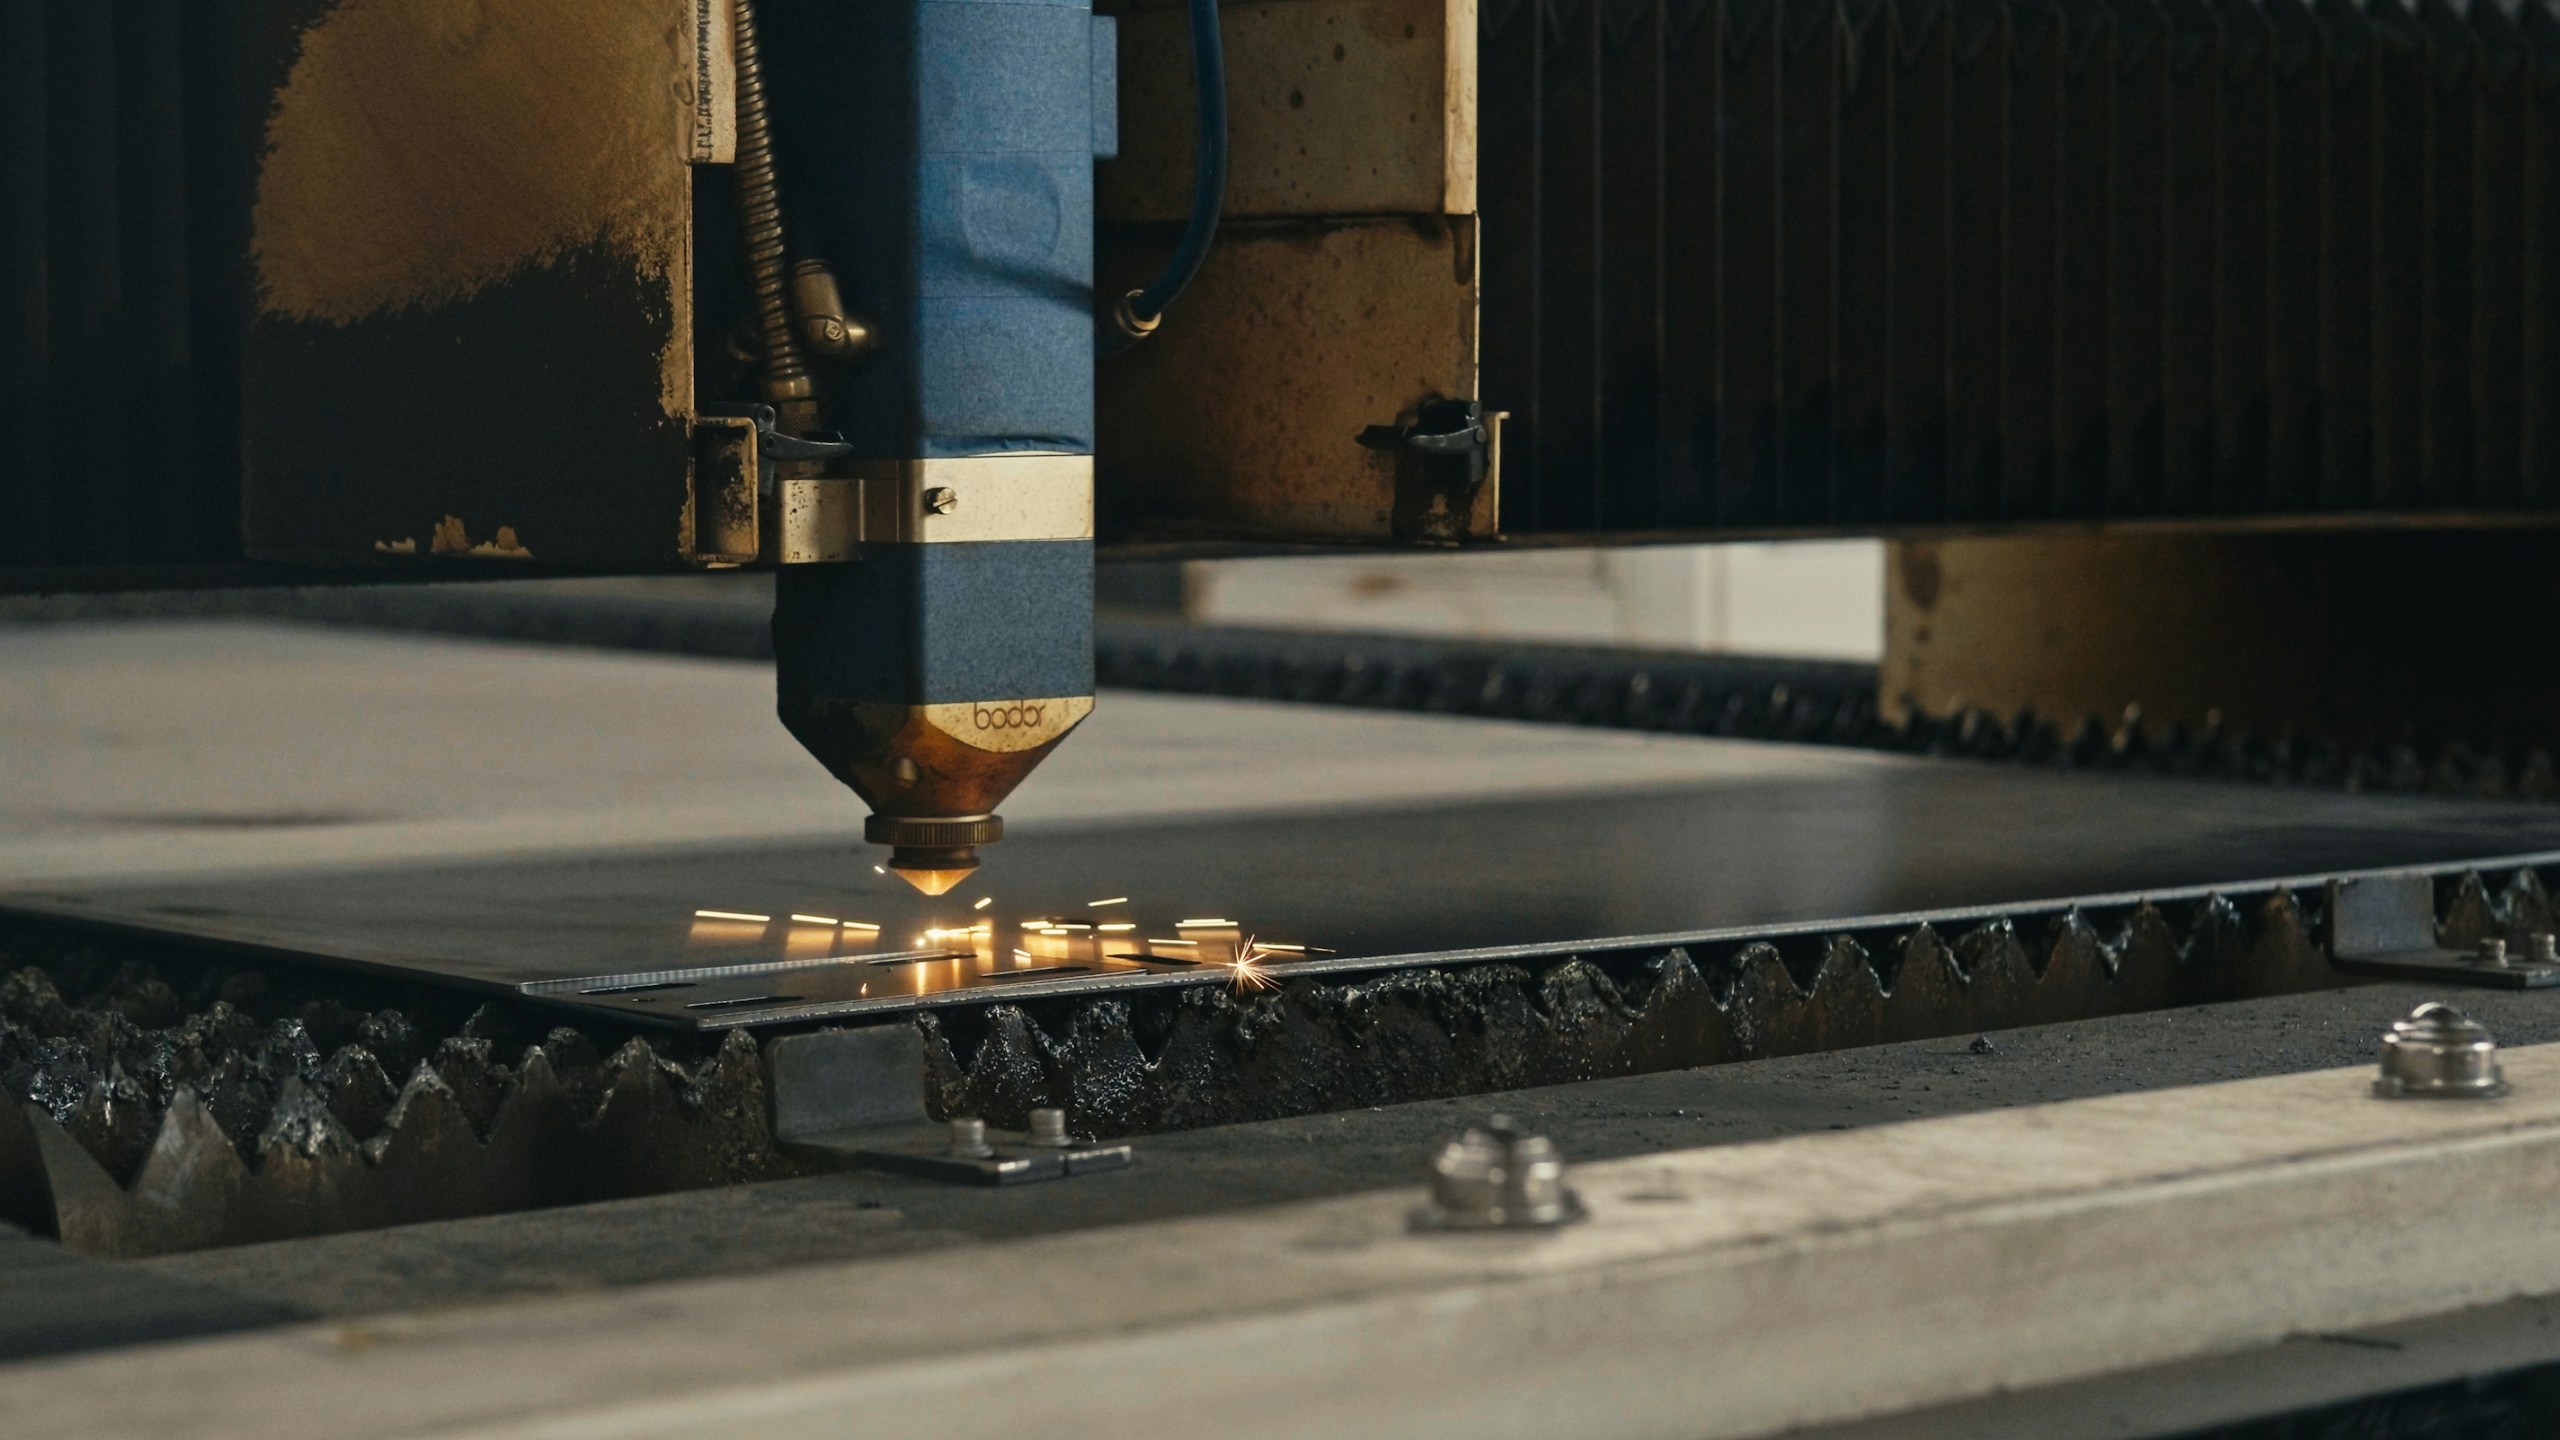
Every new laser owner hits the same wall: the manufacturer’s suggested settings burn one material perfectly and wreck the next one. The answer isn’t a single magic number — it’s a systematic starting point paired with a test-grid workflow that finds your machine’s actual sweet spot in under 10 minutes.
These are starting-point settings aggregated from community documentation — Craftgineer, Diode Laser Wiki, StyleCNC, OMTech, and practitioner reports across r/lasercutting. The LaserCraftLab editorial team has not physically run every machine combination. Your machine, material batch, and ambient conditions will vary. Always run a 5×5 test grid at varying power and speed before engraving a final workpiece. Treat every number here as a hypothesis, not a guarantee.
Quick answer (40 words): For 10W diode lasers, wood engraving starts around 60–80% power at 3000–4000 mm/min; for 20W diodes, drop to 40–60% power at the same speed. CO2 users start at 15–25% power at 300–500 mm/s. Run a test grid first, always.
Why settings vary — the key variables
Three levers control every laser result:
- Power (%): Percentage of the laser’s maximum output. Higher = deeper/darker mark. Too high on thin wood = burn-through.
- Speed (mm/s or mm/min): How fast the head moves. Faster = lighter mark; slower = darker. Note that diode machines often use mm/min while CO2 machines use mm/s — always check your software’s unit.
- Passes: How many times the laser repeats the path. Adding passes instead of raising power gives you more control, especially for cutting.
Machine class matters enormously. A 10W diode, a 20W diode, and a 40W CO2 are fundamentally different tools. The table below separates them.
The test-grid method: 10 minutes to calibrate any material
Before trusting any table value on a new material, run this:
- Set up a 5×5 grid of 10mm squares in your software.
- Map power across rows (e.g., 20%, 30%, 40%, 50%, 60%).
- Map speed across columns (e.g., 200, 300, 400, 500, 600 mm/s for CO2; or 2000, 3000, 4000, 5000, 6000 mm/min for diode).
- Engrave or cut on a scrap of your actual material.
- Read the grid: find the square with the cleanest mark at the lightest char, then use those coordinates as your real starting point.
This single step replaces hours of failed attempts. Craftgineer documents this workflow as the single most reliable calibration method for community-documented settings (as of July 2026 — verify at craftgineer.com).
Cheat sheet tables
All values below are starting points from community-aggregated documentation. Verify with a test grid on your specific material and machine. Settings may differ significantly between machine batches, material suppliers, and ambient humidity.
Engraving settings — 10W diode laser (e.g., xTool D1, Sculpfun S10)
| Material | Power (%) | Speed (mm/min) | Passes | Notes | |
|---|---|---|---|---|---|
| Basswood 3mm | 60–70 | 3000–4000 | 1 | Light char expected; test first | |
| Baltic birch ply | 65–75 | 2500–3500 | 1 | Varies by ply grade and glue | |
| MDF | 55–65 | 3000 | 1 | More resin = heavier fumes; ventilate well | |
| Cast acrylic (dark) | 80–90 | 2500 | 1 | Clear/transparent acrylic does NOT engrave with diode | |
| Leather (veg-tanned) | 30–50 | 4000–5000 | 1 | Less power = cleaner contrast; chrome-tanned releases toxic fumes | |
| Slate | 100 | 1500–2500 | 1 | Ablation, not burning — white mark on dark stone | |
| Anodized aluminum | 100 | 2000–3000 | 1 | Removes anodizing layer; light spray first for bare metal |
Engraving settings — 20W diode laser (e.g., xTool S1 20W, LaserTree K20)
| Material | Power (%) | Speed (mm/min) | Passes | Notes | |
|---|---|---|---|---|---|
| Basswood 3mm | 40–55 | 4000–6000 | 1 | Higher speed compensates for higher power | |
| Baltic birch ply | 45–60 | 3500–5000 | 1 | Faster than 10W for same depth | |
| MDF | 35–50 | 4000 | 1 | Run higher speed to avoid excessive char | |
| Cast acrylic (dark) | 60–70 | 3500–4500 | 1 | Air assist recommended; clear acrylic still won't engrave | |
| Leather (veg-tanned) | 20–35 | 5000–6000 | 1 | Very light touch; leather scorches fast at 20W | |
| Slate | 80–100 | 2500–4000 | 1 | White ablation mark; consistent results | |
| Anodized aluminum | 80–100 | 3000–4000 | 1 | High power for reliable anodizing removal |
Engraving settings — 40W–60W CO2 laser (e.g., OMTech 40W, older Glowforge models)
| Material | Power (%) | Speed (mm/s) | Passes | Notes | |
|---|---|---|---|---|---|
| Basswood 3mm | 15–25 | 300–500 | 1 | Low power high speed = clean engraving; avoid scorching | |
| Baltic birch ply | 20–30 | 250–400 | 1 | Grain affects result; test across grain direction | |
| Cast acrylic — engrave | 15–20 | 400–600 | 1 | Engrave on reverse side, mirrored, for a polished look | |
| Cast acrylic — cut 3mm | 55–70 | 8–15 | 2–3 | Air assist critical; edges fire-polish themselves | |
| Leather (veg-tanned) | 10–20 | 150–300 | 1 | Slowest, lowest power approach; check burn smell | |
| Slate coasters | 20–35 | 200–350 | 1 | Surface ablation only; does not cut through | |
| Cardboard | 25–35 | 300–500 | 1–2 | Thicker stock needs passes; air assist prevents flame |
Cutting starting points — diode and CO2
| Material | Machine | Power (%) | Speed | Passes | |
|---|---|---|---|---|---|
| Basswood 3mm | 20W diode | 90–100 | 600 mm/min | 3–5 | |
| Basswood 3mm | 40W CO2 | 55–65 | 10–15 mm/s | 2 | |
| Baltic birch 3mm | 20W diode | 90–100 | 400–600 mm/min | 4–6 | |
| Cast acrylic 3mm | 40W CO2 | 60–70 | 8–12 mm/s | 2–3 | |
| Cardboard 3mm | 10W diode | 70–80 | 2000 mm/min | 2 | |
| Leather 2mm | 20W diode | 70–80 | 800 mm/min | 2 |
Source: Settings aggregated from Diode Laser Wiki community guidelines (diode-laser-wiki.com), StyleCNC material guide (as of July 2026 — verify at source), and OMTech documentation.
Material-specific notes
Wood
Basswood and Baltic birch are the workhorses of laser craft. Basswood is softer and engraves with a lighter, more cream-colored finish. Baltic birch varies significantly by ply grade — cheap ply with voids and inconsistent glue will produce uneven results no matter what your settings are. Source your ply from a dedicated laser supplier when possible.
Safety note: Wood engraving produces fine particulate and resin fumes. Always run active ventilation or exhaust to the outside. MDF is worst for fumes due to its formaldehyde-based binders — if you engrave MDF regularly, consider an air filtration unit with both particulate and activated carbon stages.
Acrylic
The critical distinction: cast acrylic engraves beautifully; extruded acrylic produces a poorer result and more fumes. Clear and transparent acrylic does not engrave with diode lasers — the beam passes straight through. For diode users, use dark-colored or mirrored cast acrylic.
For CO2, engraving on the reverse side (mirrored in your software) then flipping it over produces a polished, frosted look that’s popular for awards and signage. Air assist is important for acrylic cutting to prevent flame and improve edge quality.
Leather
Vegetable-tanned leather is the safest choice for laser work. Chrome-tanned leather releases hexavalent chromium when lasered — a known carcinogen. If you’re not sure what tanning process was used, don’t laser it. Buy from a supplier who specifies veg-tanned.
Laser engraving leather is all about heat control — less power and faster motion almost always produce cleaner contrast and crisper edges than high power.
Slate
Slate produces a distinctive white ablation mark on dark stone. It doesn’t burn or cut — the laser ablates the surface, exposing a lighter layer. This makes slate coasters one of the most forgiving beginner projects: settings that are “wrong” for wood are often fine for slate.
Materials you must NEVER laser
These materials release toxic gases when lasered — no ventilation setup makes them safe:
- PVC / vinyl — releases chlorine gas (hydrochloric acid vapor) and phosgene; corrosive to machine optics; toxic at any exposure level
- ABS plastic — releases styrene (suspected carcinogen) and other toxic compounds
- Polycarbonate — releases bisphenol compounds; yellows rather than cutting cleanly
- Fiberglass / carbon fiber — releases carcinogenic glass and carbon particles
- Unknown coated or adhesive-bonded boards — coating chemistry unknown; default to no
See our full safety guide: Laser Engraving Safety: Fumes, Ventilation, and What Not to Cut.
Setting up your first test grid in LightBurn
If you’re using LightBurn (the standard choice for most diode and CO2 lasers other than Glowforge), the “Material Test” generator under Edit → Material Library → Test Grid is the fastest path to a calibrated cheat sheet for your specific machine.
Set up a 5×5 or 6×6 grid, assign power ranges across one axis and speed across the other, run it on your target material, and photograph the result. Label each square. That becomes your personal cheat sheet that is more accurate than any published table — including this one.
Common questions
Why do the same settings give different results on different days?
Humidity, material batch variation, and even ambient temperature affect results. Leather especially changes behavior with humidity. If a project looks off, check your material storage — wood and leather absorb moisture that affects how they respond to the laser.
Should I use mm/s or mm/min?
Check your software. LightBurn defaults to mm/s. xTool Creative Space often displays mm/min. Before copying any settings from a table, confirm which unit the source is using — a value of 300 mm/s is very different from 300 mm/min (which is about 5 mm/s). When in doubt, convert: mm/min ÷ 60 = mm/s.
What is air assist and do I need it?
Air assist blows a stream of air at the cut/engrave point. It clears smoke and debris, prevents flare-ups, and significantly improves edge quality on acrylic and wood. For cutting it is close to essential. For engraving, it reduces char on wood. The xTool S1 includes built-in air assist; many other machines offer it as an add-on module.
Do CO2 settings work on diode lasers?
No — the wavelengths are different (CO2 = 10600nm; diode = ~450nm), which changes how materials absorb energy. Always use settings from the same machine class. Diode Laser Wiki maintains a community-documented settings database specifically for diode machines.
What's the safest way to test settings on expensive material?
Run your test grid on a cheap proxy first: cheap craft-store basswood sheets for wood, cardboard for approximate cutting depth, scrap acrylic offcuts for acrylic. Once you have a working setting range from the proxy, run a single-square test on the actual material before committing to a full workpiece.
Related: xTool vs Glowforge: Honest Comparison for Beginners (2026) — if you’re still choosing a machine, read this before buying. Laser Engraving Safety: Fumes, Ventilation, and What Not to Cut — the materials that will damage your lungs and your machine. Still shopping for the machine these settings are for? Start with Best Laser Engravers for Beginners in 2026.
§ Disclosure
Heads up: this post contains affiliate links. If you buy through them we may earn a commission at no extra cost to you — it's how we fund independent research. Full disclosure.